Hot Process Soap Recipe
'Marbled Mint'

I honestly never thought marbling a hot process soap recipe would be possible. Recently, I have come across some wonderful looking marbled hot process soaps which made me realize how wrong I was! Sadly, it's taken me far to long to discover this!
My marbling technique still needs work but I'm thrilled with the result regardless. It's pretty, colourful and smells of mint. Yummy!
Some of the links on this site are affiliate links. If you buy a product through them, I receive a small commission which helps me provide the free information you find on this site. Thank you for your support!
Hot Process Soap Recipe Ingredients
Shea Butter - 225 gr. | 7.94 oz. | 25%
Olive Oil* - 360 gr. | 12.70 oz. | 40%
Coconut Oil - 225 gr. | 7.94 oz. | 25%
Castor Oil - 90 gr. | 3.17 oz. | 10 %
Distilled Water - 288 gr. | 10.16 oz.
Lye - 123.75 gr. | 4.37 oz.
Water as a % of oils = 32%
Super fat/discount = 5%
Additional Ingredients
Kaolin Clay (cosmetic white) - 1 Tbsp. (15 ml)
Plain Full Fat Yoghurt - 24 grams
Coconut Milk - 24 grams
Sodium Lactate - 2 tsp. (10 ml)
Peppermint E/O - 1/2 tsp (2.5 ml)
Sweet Birch E/O - 1/2 tsp (2.5 ml)
Lemongrass E/O - 1 tsp (5 ml)
Black Pepper E/O - 1/2 tsp (2.5 ml)
Ylang Ylang E/O - 1 tsp (5 ml)
Patchouli E/O - 1/2 tsp (2.5 ml)
White mica - 1 tsp (5 ml)
Pink mica - 1/4 tsp (1.25 ml)
Yellow oxide/mica mix - 1/4 tsp (1.25 ml)
Ultramarine/mica mix - mica - 1/4 tsp (1.25 ml)
Hydrated chromium green oxide/mica mix - mica - 1/4 tsp (1.25 ml)
Hot Process Soap Recipe Instructions
With this hot process soap recipe we will be creating a layered marbled looked using a bent wire coat hanger. Let's get started!
- Begin by measuring out all of the additives and placing them in sealed containers.
- I like to put the soap mould, yoghurt/coconut milk mixture, scent mix and super-fat into my warmed oven. I turn the oven to it's lowest setting to warm it and then turn it off once I'm ready to put in the additives for warming.
- I also put the glass mixing bowl I use to mix in colour to the soap base into the oven so it's not chilled when I add the soap.
- Don't forget to add your colours to a small amount of olive oil and mix out any lumps. This makes it much easier to blend them into the batter later.
- The colours, sodium lactate and kaolin clay I leave on top of the stove.
- Weigh out the hard oils and place them into the crock pot.
- Weigh the liquid oils out and place them aside. Reserve 45 grams of the olive oil which will be saved as your super-fat and added later.
- Prepare you lye solution and stir until all the lye has dissolved.
- Turn on the crock-pot to it's low setting and add the lye solution to the hard oils.
- Gently stir the hard oils and lye solution until the hard oils have completely melted.
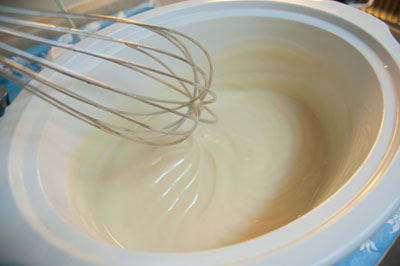
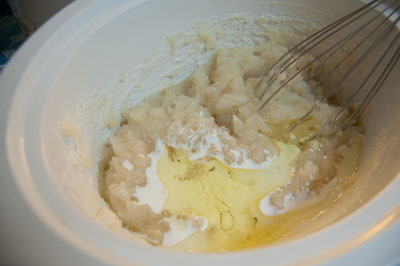
- Add the liquid oils and whisk them in.
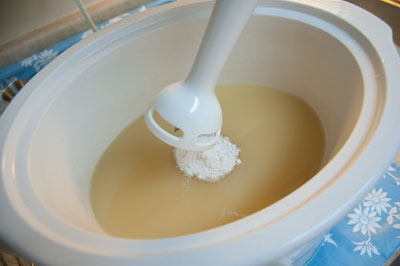
- Add in the Kaolin clay and using the stick blender, bring your soap to trace.
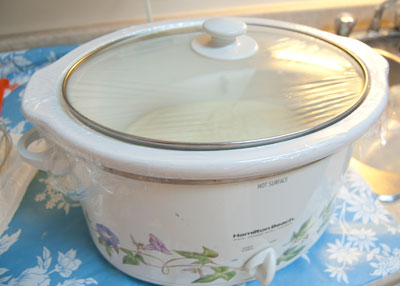
- Once your soap has reached a good trace, you can seal the crock pot top with cling wrap and place the lid on it. This will keep in moisture and heat.
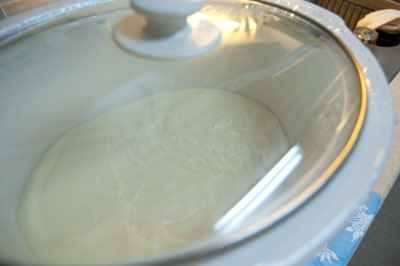
- You can see below how the soap has solidified in the pot. Soon the edges will become darker and start to gel.
- This took one hour for my batch.
- Once the majority of the soap has gelled, we will be ready to take off the cover and start adding in more goodies.
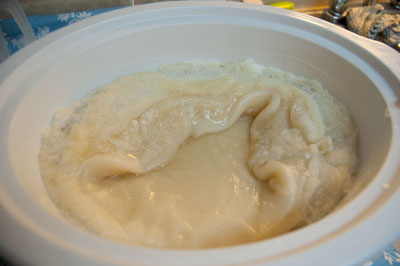
- Check the temperature. It should be around 180 degree Fahrenheit. Mine got to about 200 so I could have opened it up sooner.

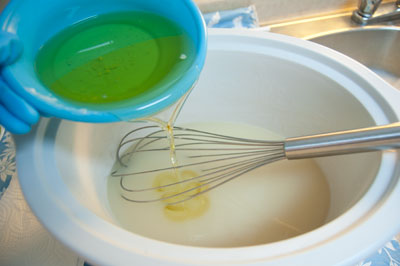
- Give the soap a good stir with your whisk.
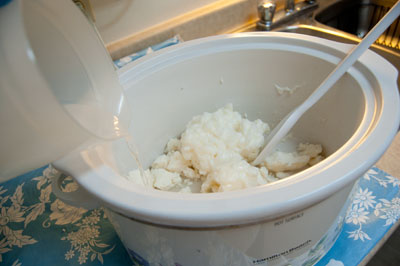
- Add in the yoghurt/coconut milk mixture, the sodium lactate and your super-fat.
- Turn off the crock pot and put the lid back on while you get out the soap mould and colourants.
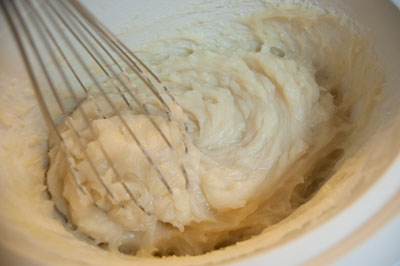
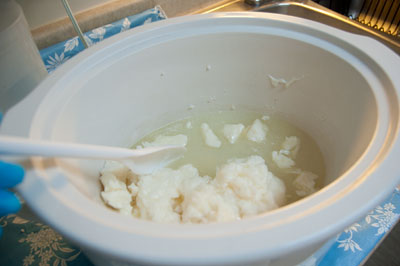
- You can see how the soap base has loosened up quite a bit with the addition of the goodies. It's much more fluid and is easier to stir.
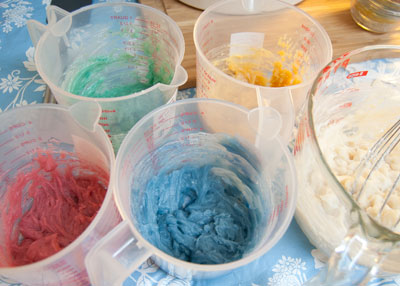
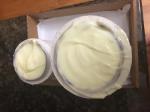
- Divide the soap base into five containers. Half into the largest which will be white. The rest divide evenly between 4 containers for the remaining colours.
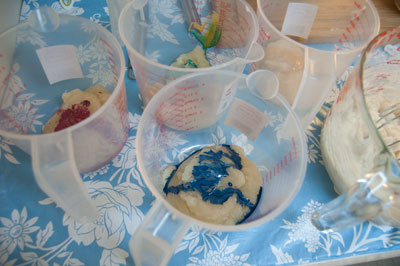
- Add the prepared colours and mix well. Work quickly here as we don't want the soap too cool too much.
- Add in the scent next and be sure to mix it in very well.
- Scoop the soap base into your mould, alternating between white and the colours until all of the soap is used.
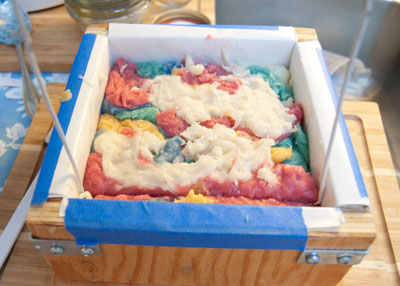
- I used a bent coat hanger to make the 'swirl'. Plunging it into the soap, moving it a little bit and pulling it back up. I repeated this across the soap mould and then turned the mould 90 degrees and repeated the process.
- I'm not satisfied with the extent of the 'swirl'. I feel that the coat hanger is not thick enough for such a firm soap base. I've purchased a thick foam coated bendable wire 'twist tie thing' from the dollar store. Will be giving that a try next time.
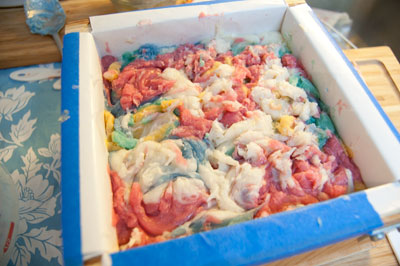
- I tried to swirl up the top of the soap a little but at this point it does become harder.
- Also be sure to give the soap mould a good gently thump on the counter to get out any voids or bubbles in the soap.
- Allow the soap to cool. You should be able to un-mould and cut the soap in a day or two.
- In order for the soap to harden nicely, it is best to leave it to cure for a couple of weeks.
Home › Palm Free Soap Recipes › Hot Process Soap Recipe - Marbled Mint
Like This Page?
Site Sponsors

If you've found this site to be helpful in expanding your soap making knowledge and would like to make a SMALL donation to help with the cost of maintaining this site, your support would be greatly appreciated.
Recent Articles
-
Forgot to add the lye!
 Well, it was getting quite late last night and I was finishing up my last batch of soap. I got my water mixture out of the fridge and whisked it into
 -
Allergic to nuts/coconuts
I'm interested in making my own soap and shampoo bars, but my young son is allergic to all nuts and possibly to coconut. Is there a recipe I can use or
Facebook Comments